

This cake. I can’t remember if I enthusiastically volunteered to make Momo’s wedding cake or if she asked me to make it and I enthusiastically answered “Yes of course!” Either way, I was very enthusiastic and it was a true labor of love. I was also a little terrified; making THE WEDDING CAKE for someone so special to me was daunting, but I tried to push that fear down.
I had a concept right away: I asked her what she thought about a cake that would be solid white on the outside but would reveal a tie dyed look on the inside and she loved it. That was the last time I asked for her opinion; the rest would be a surprise.
Momo is a Deadhead hippie at heart, so along with the tie dyed look that the cake would have, I searched for two Grateful Dead dancing bears that would fit on a cake topper. I bought some lace and mini silk roses to make a veil for one, and found a bow tie in just the right size for the other. I found some resin daisies on Amazon and glued everything onto a glass disc. I love it so much, and so did she when she saw it on Saturday.
Normally I would’ve gone right to our family’s traditional rainbow cake recipe, but it’s like a pound cake and I thought it was too heavy for a summer wedding. I searched online for something lighter and found the perfect recipe from blogger Nagi of RecipeTin Eats. It’s a combination of Japanese-style sponge cake and American-style vanilla butter cake.
The recipe is no joke. Printed out, it’s five pages long (not including the blog commentary that comes first!) and has extremely detailed instructions that she stresses MUST be followed in order, along with 15 notes on ingredients and techniques. She also warns that you have to read the complete recipe from start to finish before jumping in. No pressure!
I tested this recipe multiple times over the past three months. (Shout out to my mom, my sister, and our friends Katie and Justin for being willing tasters!) Over the course of the testing period, I decided the following things:
- I definitely needed to use a crumb coat of the buttercream icing.
- I wanted the cake to be a stunner for the wedding but I have no experience doing tier cakes, so I planned to make three, two-layer cakes: a seven-inch, an eight-inch, and a nine-inch, and would put them on pretty cake stands.
- Rather than having only icing between the layers, I decided to add lemon curd, which was perfection.
I also did some research on gel coloring. The Wilton colors I have used my whole life are pretty vivid but I learned about AmeriColor soft gel food coloring, and the results are far superior…so I ordered the student kit immediately since it contained red, orange, yellow, green, blue, and violet, or ROYGBIV minus the indigo.
In the middle of all of this, I looked on Amazon for cute, coordinating cake stands that came in the three sizes I needed. I didn’t find anything that looked special enough, and the reviews on the ones I did find were horrible. Jim and I went to an antique mall to see what we could find there, and I was delighted to bring home vintage glass stands (one gray, one white, and one ice blue) to use. I went to HomeGoods and bought some marble coasters and a glass vase that I would turn upside down, to elevate the smallest wedding cake, the one where the cake topper would sit, higher than the others.
Making the cake recipe, what with the directive not to stop at any time along the way, was very intense. In fact, I had to use so much energy on focusing that I found the need to ask Jim to please not talk to me until I had the cake in the oven. Unfortunately during one of the tests when he was completely silent, I talked to him and ended up forgetting to add two ingredients. I didn’t notice until I had colored the batter (by dividing the white batter as evenly as possible into six bowls, coloring individually and then pouring half each of ROYGBV in that order into one pan and then the rest in VBGYOR order in the other pan) and put it into the oven, and ended up throwing those layers away and starting over.

For a while I was planning to bring my stand mixer to the Kentucky mansion where Momo was getting married, and where 25 of us would be staying for an epic five days, so I could make the cakes the day before. Eventually I decided to make the cake layers (along with another two layers of gluten free chocolate cake for a friend who was attending, so she could enjoy dessert along with us!) the day before Jim and I left for Lexington. I’d put them in the freezer for the first three days and thaw and frost them on the wedding morning. At my mom and sister’s urging I also planned to make the buttercream icing ahead as well (SIX BATCHES), which was an excellent decision in the end.
On the day when I was baking the cakes “for real,” I asked Jim for his silence again and did my best to keep my own mouth shut, too. I ended up taping the core recipe pages to skillets that are hanging on a pot rack over my kitchen work area so I could continually and quickly glance up at it without breaking my flow. I also highlighted my trouble points (like those two ingredients I left out during that test) so I would pay extra attention there. (I’m not going to lie, I caught myself almost making the same mistake again; ugh!)

I baked all eight layers (six tie dye and two GF chocolate), made those six batches of icing, and cleaned up in between each process in about seven hours, and was absolutely relieved to get all of that done. I had a few days off before applying the icing.

On Saturday at the mansion I pulled the icing out of the refrigerator first so it could come down to room temperature, and pulled the cake layers out of the freezer so they could thaw for about 45 minutes before I got started. The icing was a little bit of a beast because I had to work it with a spoon in small batches quite a lot until it was soft enough to use without pulling the cakes apart. (I brought a hand mixer with me but really didn’t want to make that mess.) Jim helped me fill the icing bags, stir icing batches, and move cakes around; his help was invaluable and shortened my process. I think it still took about two and a half to three hours to frost all four cakes!
They looked so nice, and I added some really adorable daisy lace to the bottom edges of the cakes, to give them extra pizazz.

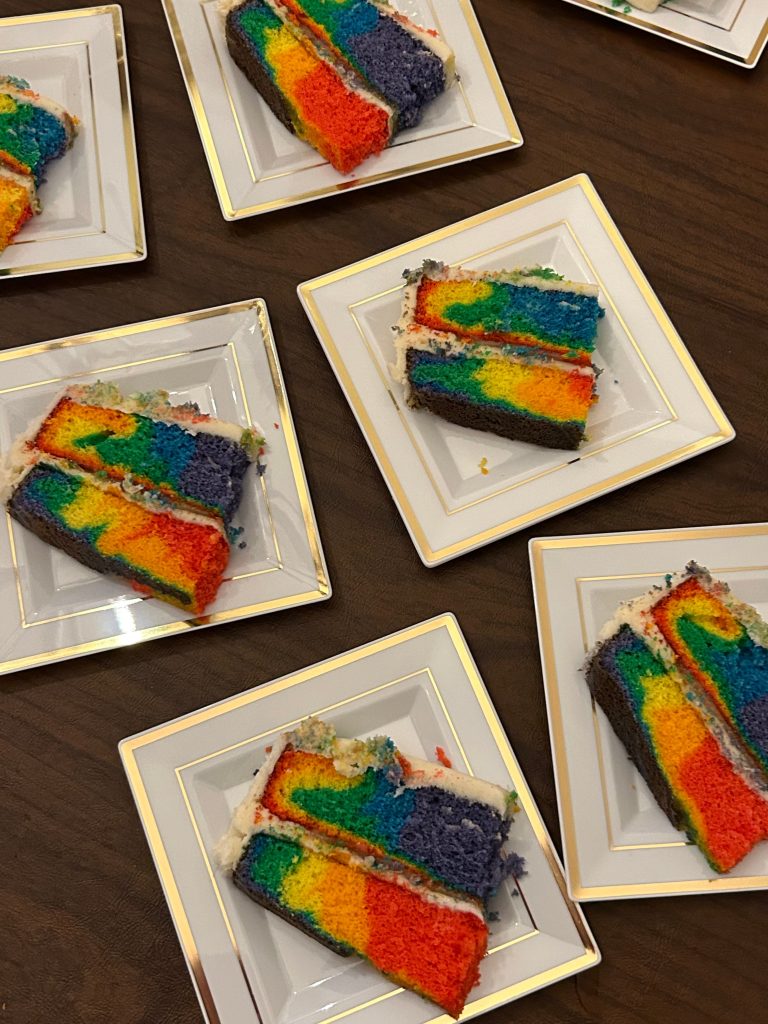
When Momo and Andy cut the cake, the reaction in the room to the reveal was exactly what I hoped it would be. And Momo’s son Adam yelled, “Pride! It’s a Pride Cake!” which made me laugh but also, sure, I love celebrating Pride at any time so go off, Adam! It’s all love.
One final test: the taste. I’m happy to report that it was absolutely delicious. I loved it, Momo loved it, Andy loved it. So many of my mansion-mates told me they loved it, too, and I feel super proud of this accomplishment. I was so relieved to have come through on this for Momo, I can’t express it in words.
Will I make this cake recipe again? Hell yes. It’s definitely going into the rotation. Will I make a wedding cake for someone special again? I’m not ruling it out (wink).


